RNA isolation tips
Microbiome

RNA isolation tips

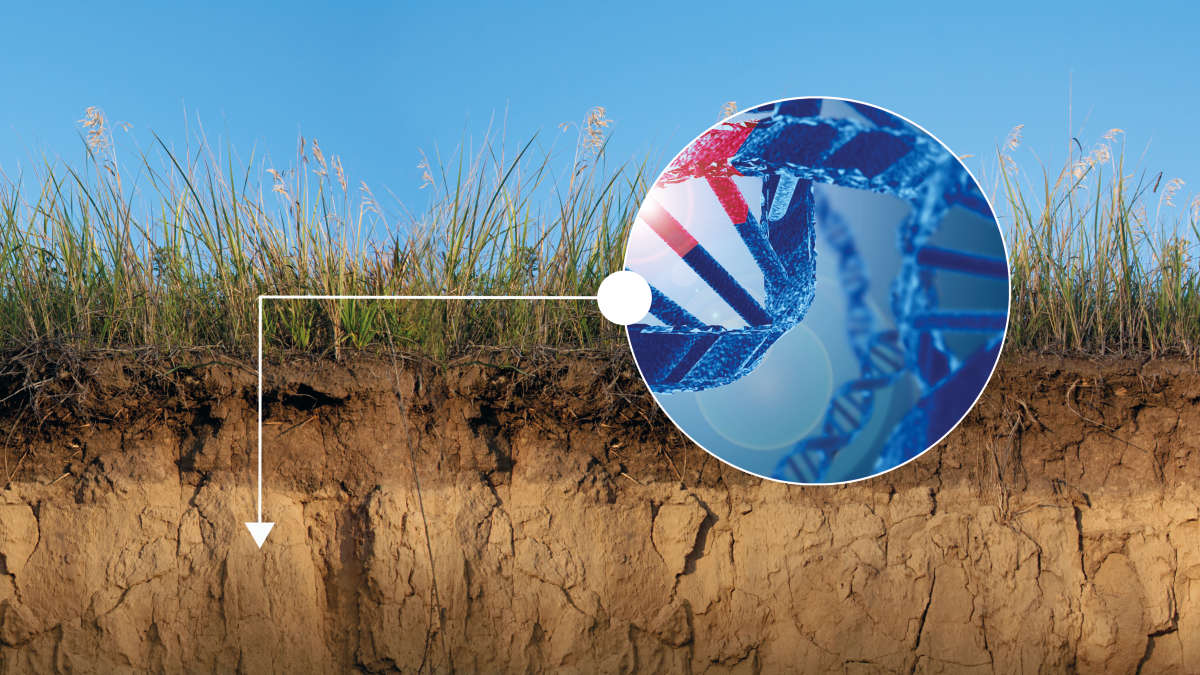
Successful isolation of high-quality RNA from soil

RNA isolation from soil is one of the most difficult applications performed in environmental molecular biology. Not only is degradation a constant challenge, but also RNA yields tend to be low.

Possible co-contamination of the RNA by soil humic acid and inhibitor content is also a challenge. Purity for RNA applications is essential. The RNA should be concentrated when added to the reaction and inhibitors cannot be present.

Low RNA yields, usually between 10 and 20% of the yield of DNA, mean that to isolate a sample for research requires working with a larger amount of sample, using larger (15ml) tubes and a centrifuge with a greater capacity. As dilution of the RNA for reverse transcription is best avoided when looking for low copy genes, successful inhibitor removal is key.

To meet these challenges, QIAGEN® offers the RNeasy® PowerSoil® Total RNA Kit, which has been specifically developed to make soil RNA extraction straightforward. 

The protocol is a carefully-tested combination of methods: Inhibitor Removal Technology (IRT®) for inhibitor removal, phenol-chloroform extraction for complete microbial lysis, and anion-exchange for high-quality purification. The end result is the isolation of clean RNA in the volume desired, allowing for maximal use in RT-PCR.

From loamy forest soil to river sediment, every soil has a different texture, moisture and microbial load. Using the RNeasy PowerSoil Total RNA Kit, you can adapt your extraction process for each one.

Ten RNA isolation tips

Here are ten tips to avoid problems and optimize results when following the steps of the RNeasy PowerSoil Total RNA Kit protocol.

Protocol step
Tip 1: Carefully consider the amount of the starting sample.

For most soils, the maximum amount per sample is 2 grams. But for sediments, the increased water content means fewer soil particles in a 2-gram sample. This may result in reduced RNA yields from samples that already have a low microbial load. Thus, up to 5 grams wet weight of sample are recommended for sediment.

Note: If you notice a significant quantity of water sitting on top of the soil after collection, you can centrifuge the sample briefly after adding it to the bead tube, for removal of the excess water.

Protocol step
Tip 2: Use a PCI appropriate for soil

Using the correct Phenol: Chloroform: Isoamyl alcohol (PCI) type is important – see recommendations in the kit manual. The phenol should be a 25:24:1 ratio of PCI and the pH should be between 6.7 and 8, stored under TE buffer pH 8.0. Unlike for animal tissue and cell samples, for which a low pH phenol in RNA prep is appropriate, soil samples require a neutral pH phenol for best results.

Protocol step
Tip 3: Optimize isopropanol precipitation.

After PCI extraction and the addition to Solution SR3, the next step is isopropanol precipitation to isolate the total nucleic acids. If you started with sediments, you might have more than 5 ml of sample after adding SR3. You will need to increase the amount of SR4 (isopropanol) to equal the volume of sample at protocol step 11 to ensure complete precipitation.

Tip 4: Adapt isopropanol precipitation temperature for high-salinity samples.

The standard kit protocol is to freeze the samples at -20°C. But for samples with high salinity, it is better to perform the precipitation at room temperature because the sub-zero temperature will cause the salt to precipitate, changing the binding conditions to the anion-exchange column in the purification. You will know if the sample precipitated salt by the appearance of the pellet: if it is large and crusty, rather than flat and glossy like a normal RNA pellet, salt may be present. Sediment samples, even from freshwater lakes, tend to be salty because of the excess water.

Stopping Point: For some soils, it may be possible to extend the incubation at step 12 for longer than 30 minutes or even overnight without compromising results. But first, make sure you test this for your own soil samples.

Protocol step
Tip 5: Ensure proper flow through the column.

The columns used for the final purification of the RNA are a packed resin that makes use of gravity to drip through the column. Sometimes these can move slowly because the resin is packed down. Gentle application of positive pressure can help increase the flow of the buffers and sample through the anion-exchange column.

Note: where there is persistent difficulty with the flow rate, you can try using the syringe and barrel from a 5 ml syringe, applying light pressure to the column to enhance the flow. To do this, hold the barrel of the syringe flush against the opening of the column. Push the syringe plunger through the syringe, holding the barrel so the air does not escape around the top of the column. Apply very gentle pressure, not exceeding a flow rate of 1 drop per second.

Tip 6: Mix components adequately.

Sometimes solutions containing isopropanol can separate while sitting on the shelf. To ensure they are homogenous, shake your solutions SR5 and SR6 before use. Shaking for 10 seconds is usually adequate.

Protocol steps
Tip 7: Save time during elution.

If you have used the kit before and are confident in the lab, you can consider saving time by eluting directly into a 2 ml collection tube instead of into the 15 ml tube. This saves a transfer step and avoids some plastic waste. If you take advantage of this method, the gravity column must be balanced securely on the collection tube in a rack.

Protocol step
Tip 8: Ensure proper temperature for final isopropanol precipitation.

After elution from the gravity flow column, the final precipitation is done using the isopropanol again (Solution SR4) and incubated at -20°C. It is important to perform this step at -20°C and not at room temperature.

Stopping Point: If the prep cannot be completed in the available time, the process can be stopped here for a few hours or overnight. With the sample frozen at -20°C, the RNA is stable.

Protocol step
Tip 9: Keep track of the RNA pellet.

After centrifugation to collect the RNA from the isopropanol, the normal pellet will be small and glassy. Be sure to orient the tubes in the centrifuge the same way so you can quickly identify where the pellet is in all the tubes when you decant the isopropanol.

Note: drying the pellet can be accelerated by placing the tubes (inverted) onto a kemwipe on the airflow intake of the tissue culture hood while it is switched on.

Protocol step
Tip 10: Consider the amount of water used for RNA resuspension.

Once you have a dry pellet in hand, resuspend the RNA in a volume-based on what you need for reverse transcription. For instance, if the soil has a high yield of microbes, you can resuspend in 50-100 ul of water. (Usually, the final concentration is ~100-200 ng/ul.) For sediments and dry soils with low microbial biomass, 25 ul is preferable so the RNA is more concentrated for use. In this step, you have the flexibility to decide on the best amount of water for resuspension of the pellet.

Advance your microbiome research
Discover the QIAGEN take on microbiome research.